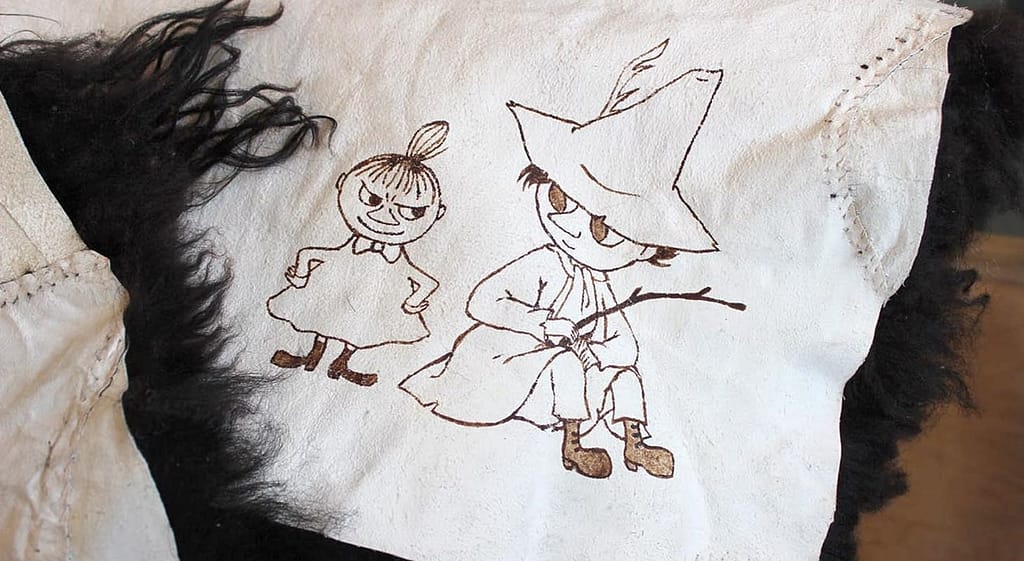
How to Make Colour From Alder Bark

EINI BEATE WAHL, TEACHER
Teaches tanning, leatherwork,
knitting etc.
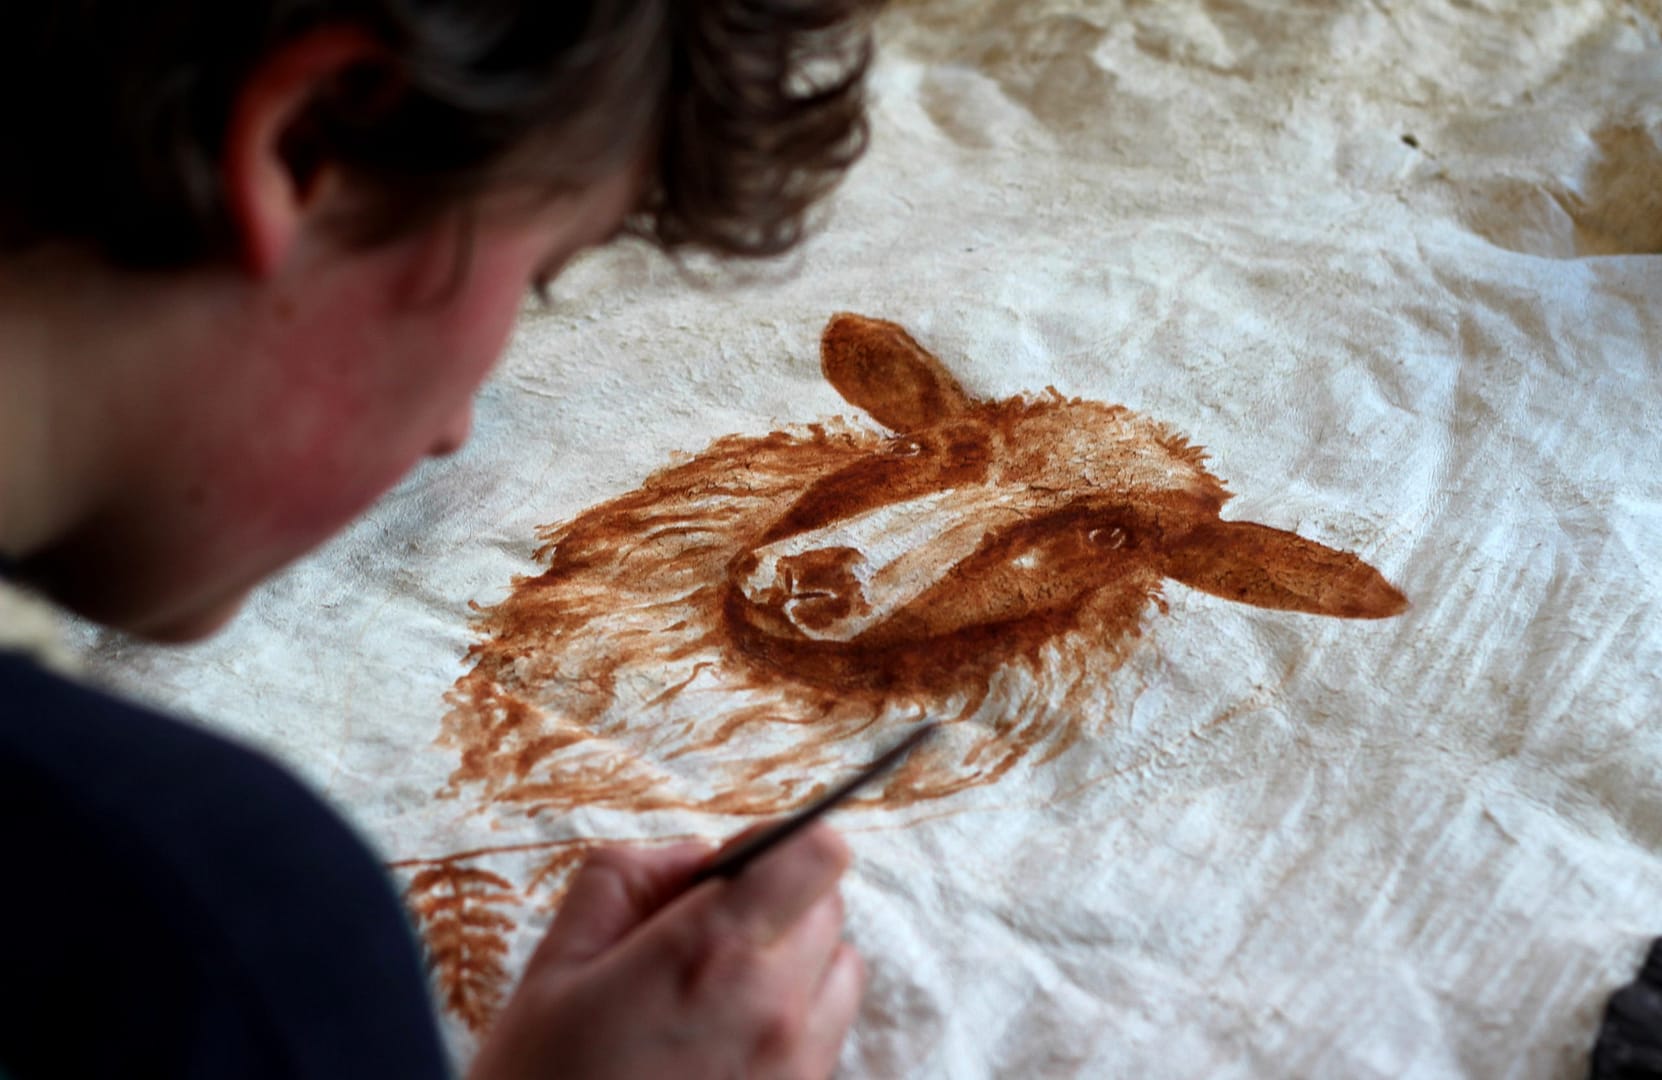
There is something special about creating colour from natural materials. In the past, it was custom to create colour from scratch. For example, alder bark was processed to create a beautiful golden brown. The colour created by processing bark can be used to decorate tanned skins. It is simple and efficient to decorate skins with fabric dye, but it is worth the effort to make your own, using organic material.
The process of creating colour from bark doesn’t require many hours of active work, but it does require patience! The resulting product has a long shelf life if stored in a clean, airtight container.
Step 1: Collect alder bark. Alder trees are in the same family as birch. Remember that ringbarking results in a dead tree. So, it can be best to scrape bark off of deadfall or trees being used as timber.
Step 2: Dry the bark. Bark dries best in a dry, well ventilated location. We spread our bark out on framed chicken wire. The thin layer of bark dries effectively due to movement of air and maximized surface area. Once the bark is dry, it can be stored for years and you can take from your supply as needed. Some recipes suggest that the bark must dry for a year to achieve optimal results. Other recipes suggest newly dried
bark does the trick. We use dried bark from our stores which are many years old, but you can try newly dried bark and achieve beautiful results.
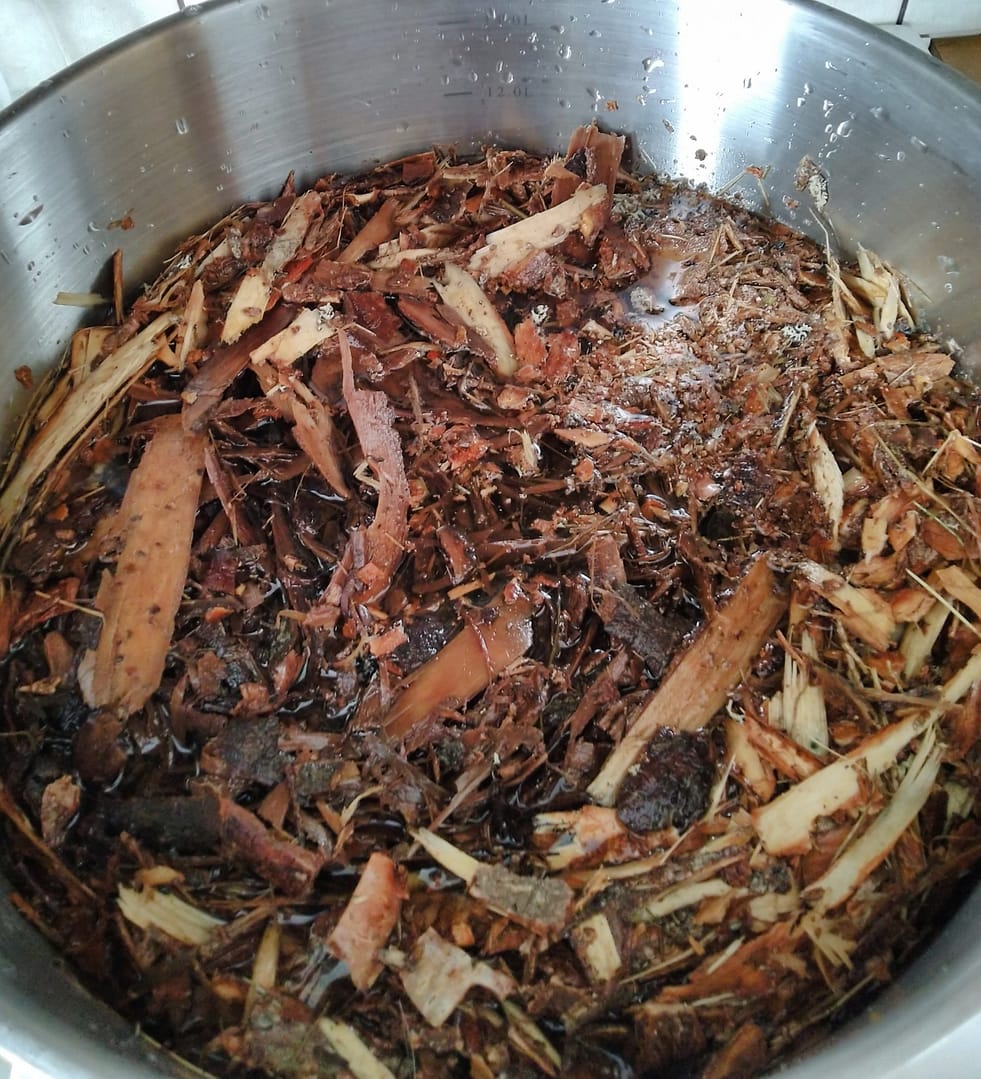
Step 3: Cooking the bark. Fill a pot with dried bark. Smaller pieces gives a stronger solution. Bark can be broken up and crushed with a wooden hammer, for example. Fill the pot with water until the bark is submerged, and then some. Boil for one hour. Pour the (now brown) solution through a strainer to remove bark pieces.
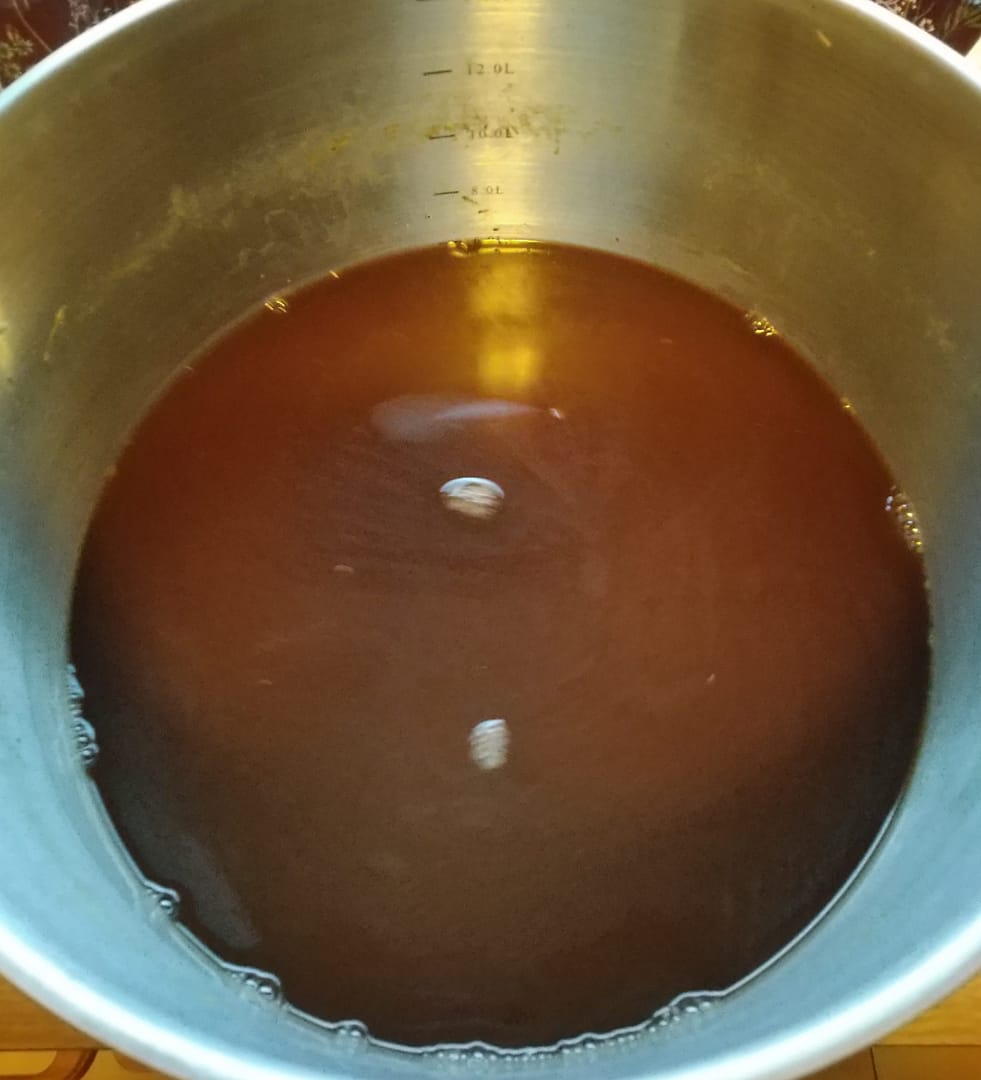
Step 4: Concentrating the colour. Pour the brown solution back into the pot and back onto the stove. Cook the solution on medium temperature. It does not need to boil, but there should be substantial amounts of steam.
This step can take several hours, depending on the starting volume of solution. Check your solution often. In this case, 6 liters of bark in combination with 8 liters of water yielded 6 deciliters of finished colour, but this will vary a lot.
When the volume has substantially decreased, you can test the strength of colour with a paint brush on a scrap piece of skin. Continue to test the strength until you achieve your desire colour intensity.
Step 5: Storage of solution. The finished colour solution can be taken off the heat, cooled, and stored in an airtight container. Remember to stir before use.
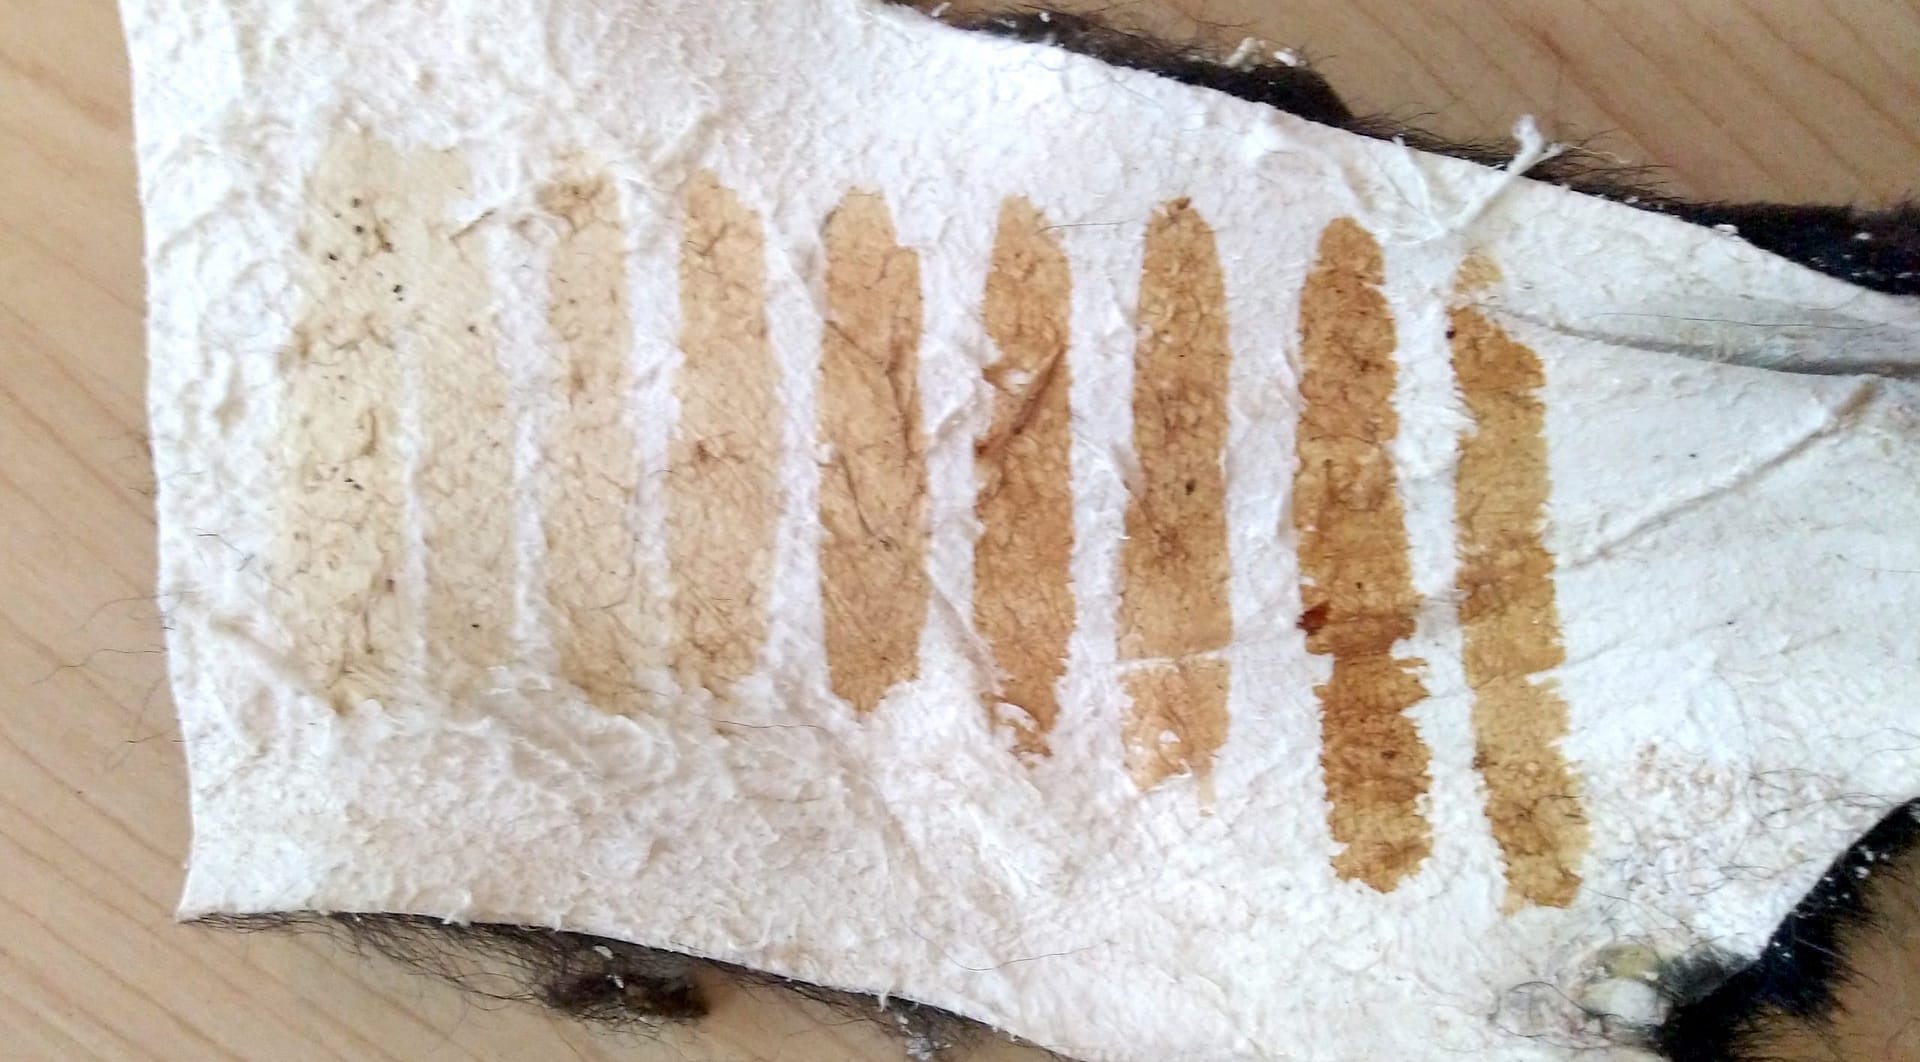
Step 6: Playing with pH. The pH of the solution has a large effect on the colour. By changing the pH, you can achieve different colours. You can add solvents like sodium carbonate (washing soda) or iron sulphate to play with the colour.
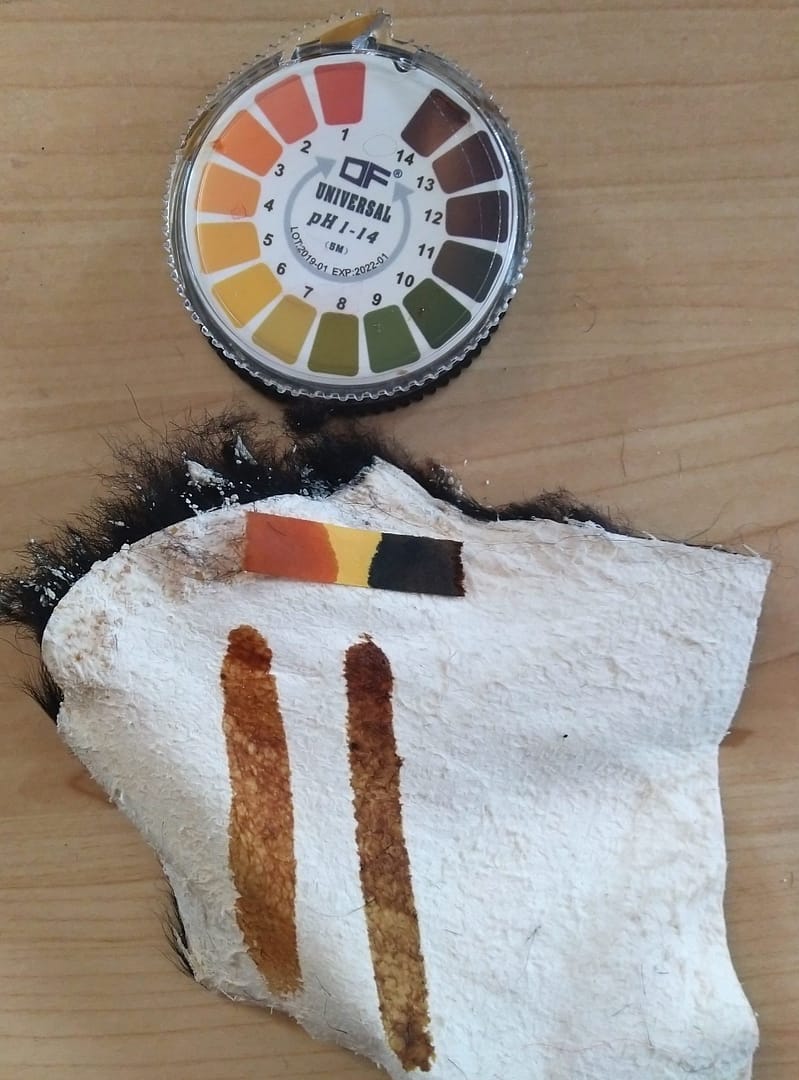
The bark solution is highly acidic to start with. Washing soda will encourage the colour to the brown side of the scale, while acidic iron will create a blackened hue. You can store the bark solution in several different containers and create a range of colours from one cook.
Pictured below (left) are my pH indicator strips from my two colours. On the left is the unaltered bark solution, and on the right has added baking soda. As you can see, the baking soda has raised the pH of the solution and increased the intensity of the colour.
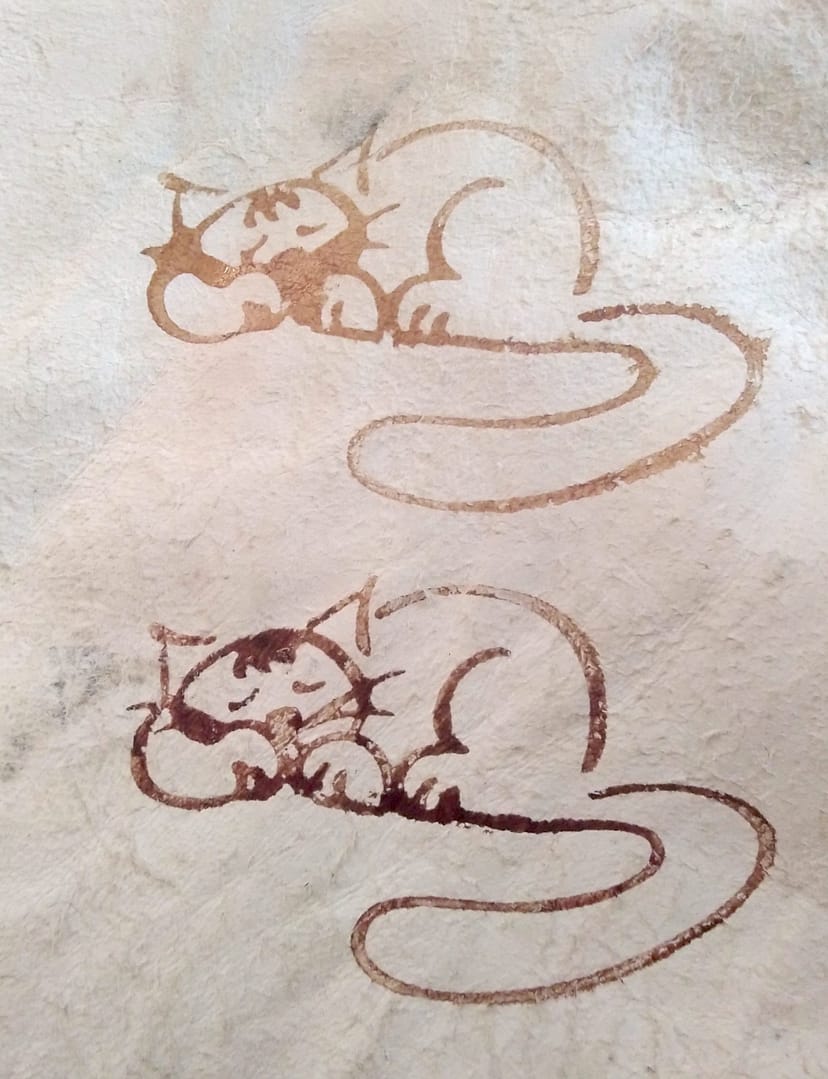
Pictured on the left is a print made with unaltered bark colour (over) and the basic bark solution with added washing soda (under).
You can also add plant dyeing materials like cochineal or madder root to further alter the colour tones.
I have also included a short video about printing and stamping on skins with blocks and bark colour. (Norwegian audio).
You can also decorate your skin by painting bark solution directly onto the skin!
Good luck!
